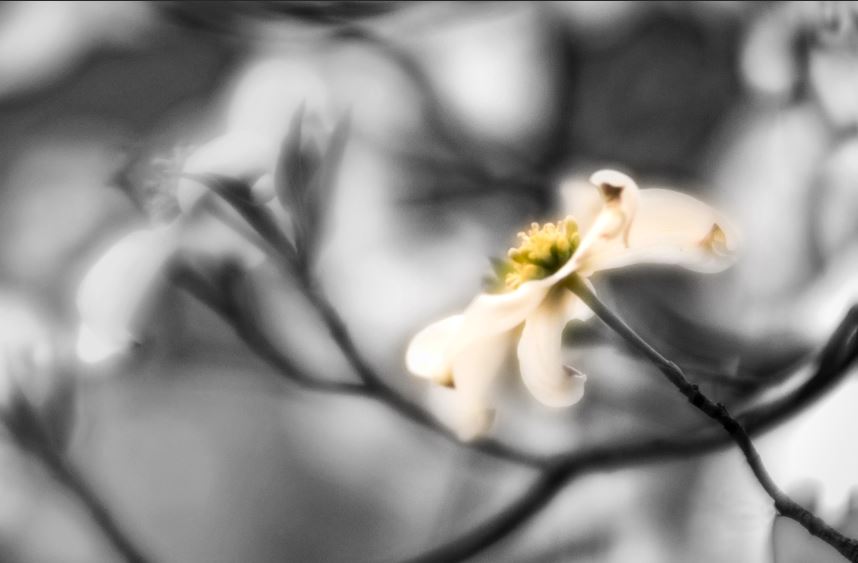
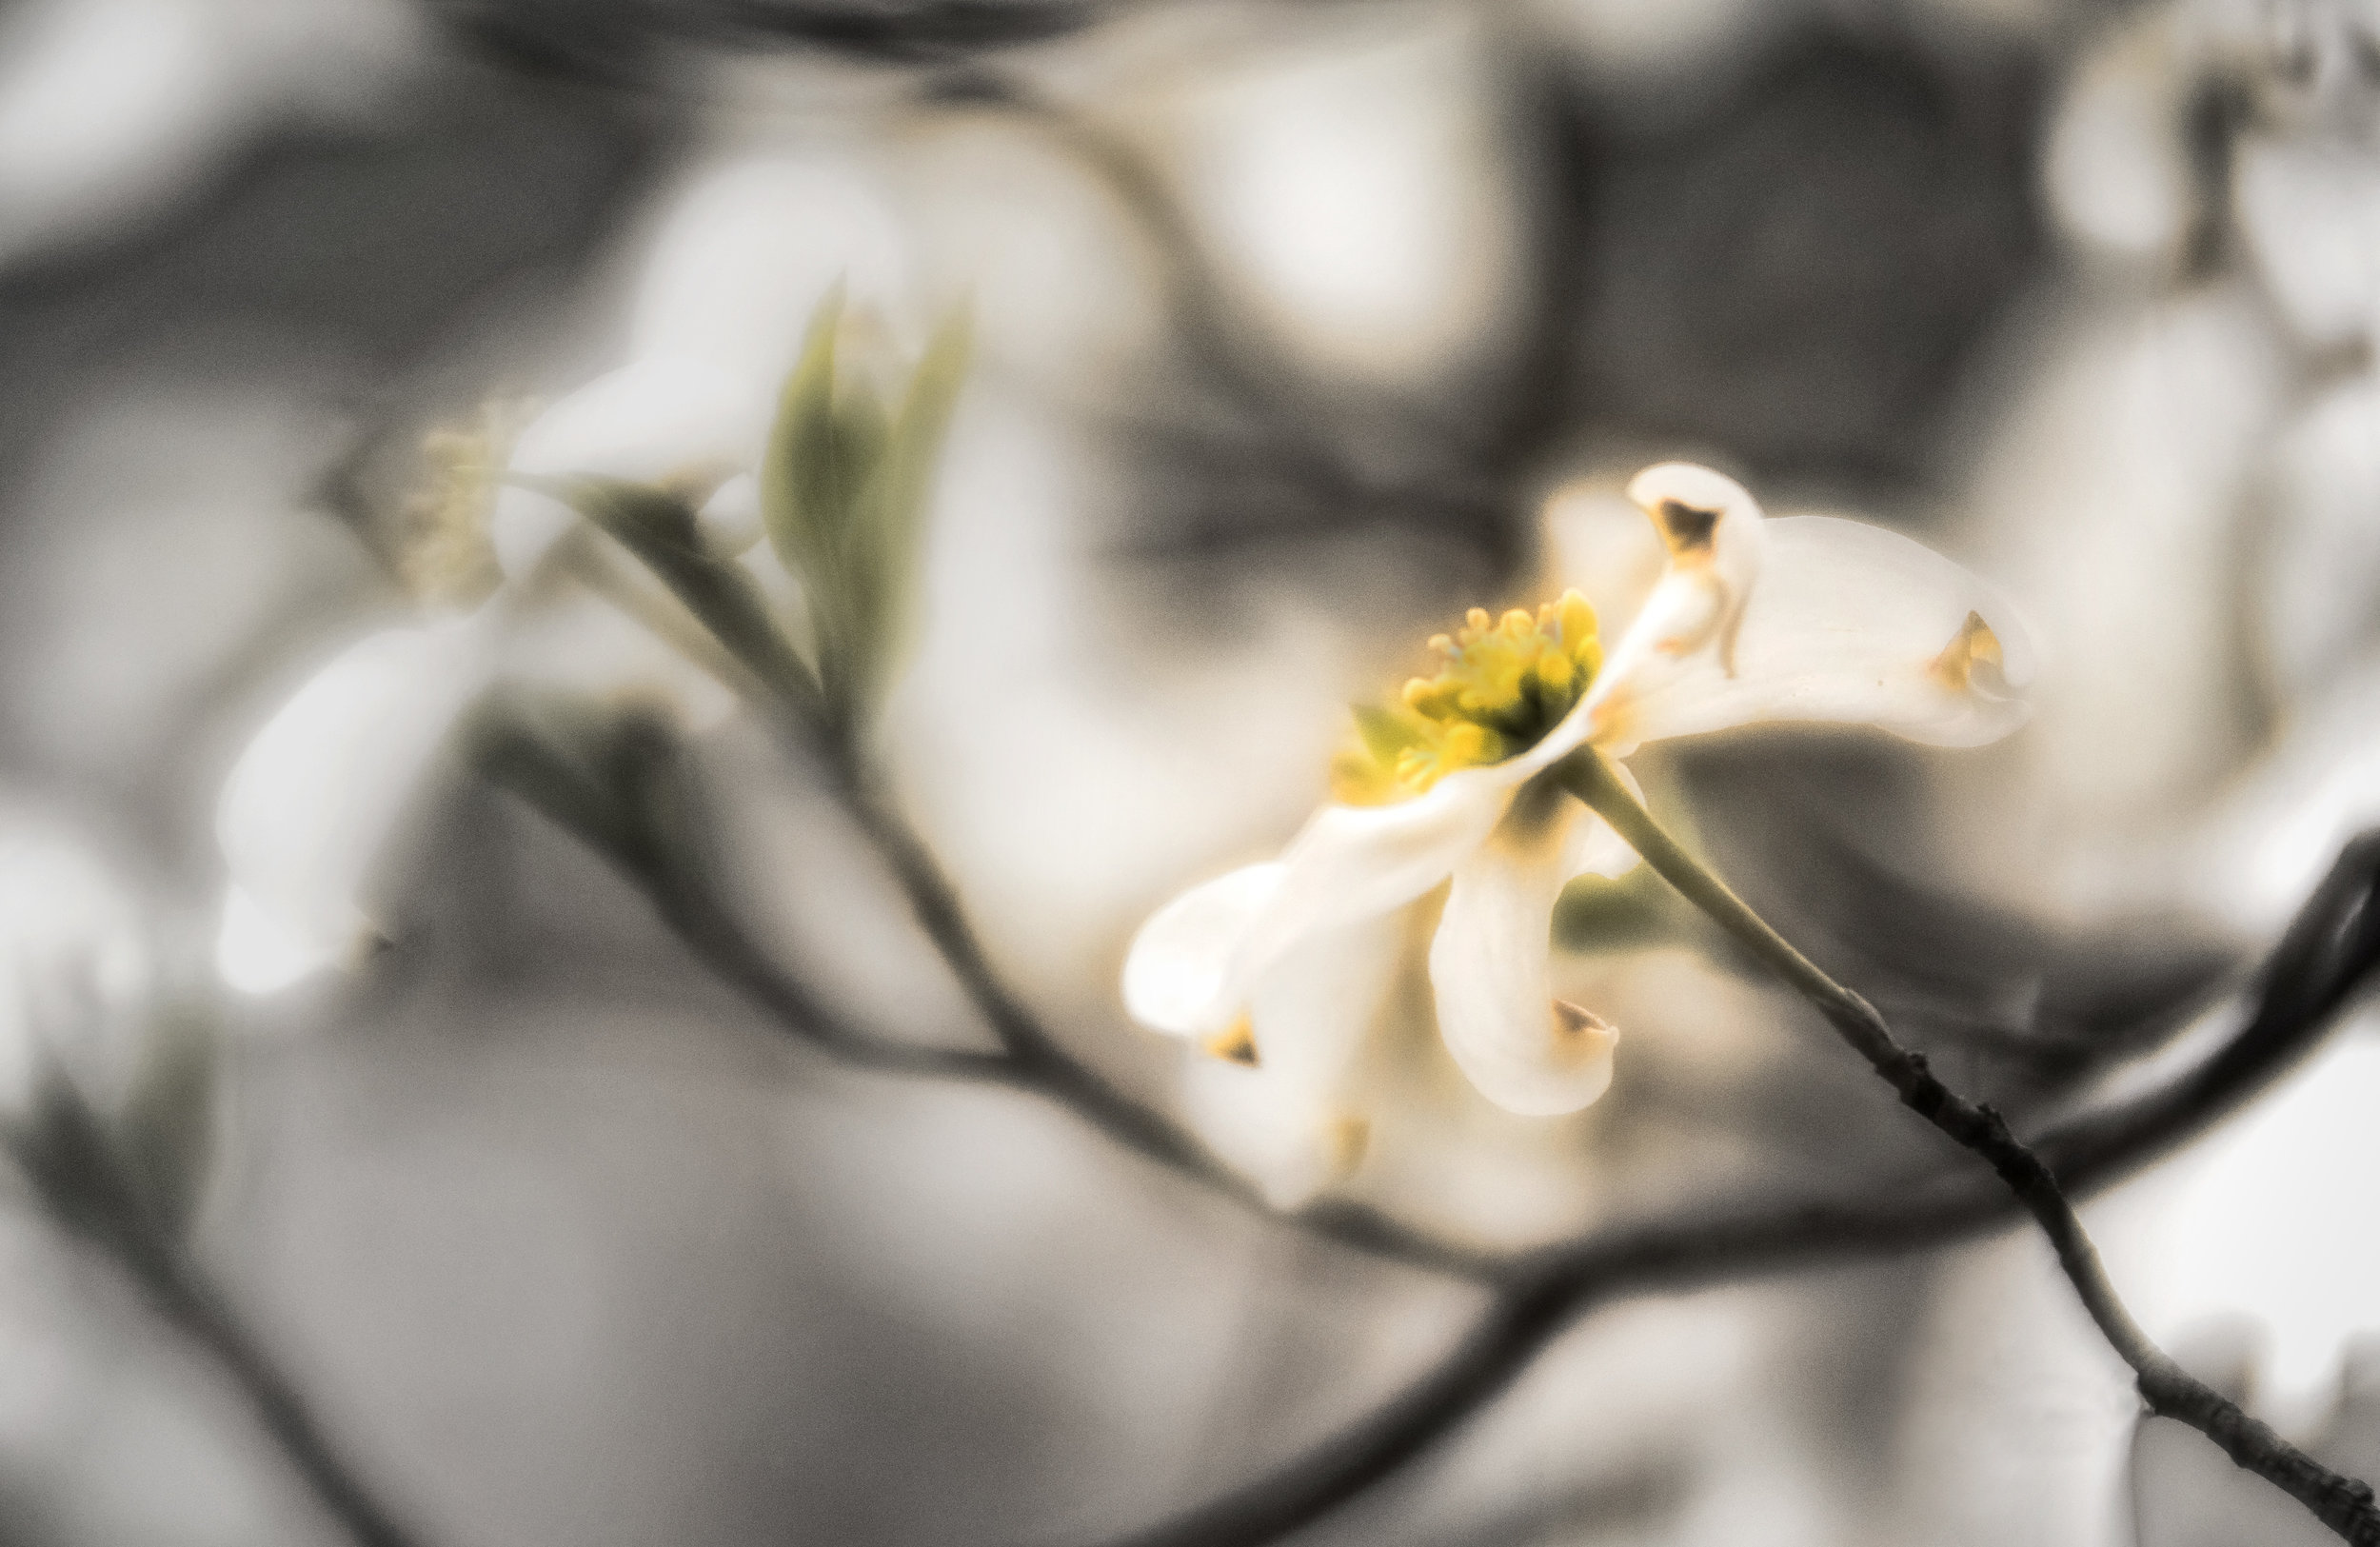
Can I process " a poem as lovely as a tree..." (Emily Dickinson) using soft focus photography, Photoshop, and NIK Software?
Let's take a look with an image that didn't quite work for me straight out of the camera. Can post-processing save the day?
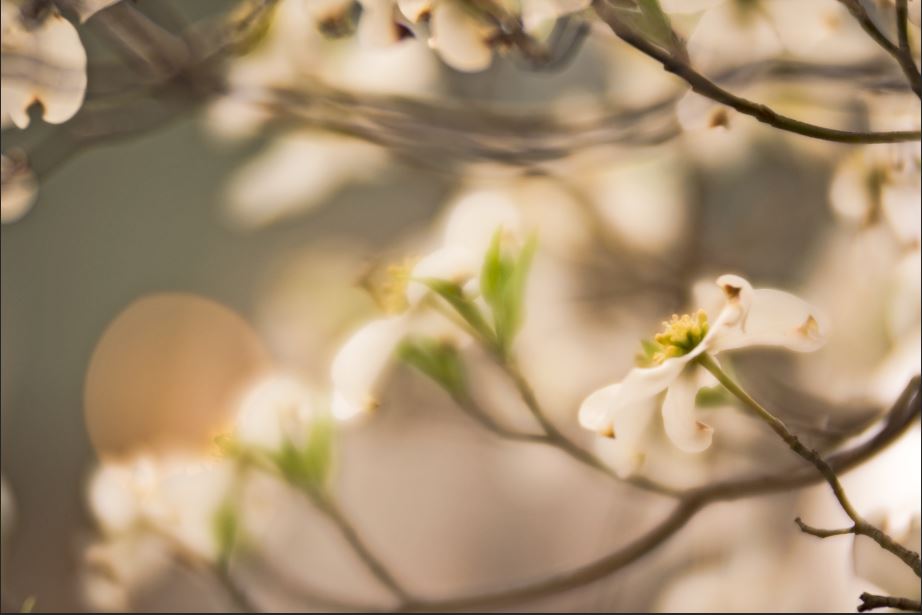
RAW file imported into Photoshop
Here's the RAW image imported straight out of the camera (with a little help from PS's RAW filter).
It's a good image of my neighbor's dogwood that borders my yard, but that single blossom at the bottom right that I wanted you to see most is a bit lost amidst the rest. That's the "flaw" for me in this image. I didn't frame/compose quite as carefully as I could have.
So... Let's have some fun and see if we can't improve on my hasty capture.
Shadows and Highlights in a duplicate layer
First things first in my process: Ctrl + J to make a copy of the background layer, and then tweak Shadows and Highlights (in the duplicate layer, select Image > Adjustments>Shadows/Highlights).
With this layer (and all my "early" work), I'm looking to flatten out some of the harsher contrast. For now, I'm focusing on that bottom right blossom. I'm working to eliminate distractions. I can always add contrast back in later.
Photoshop Crop
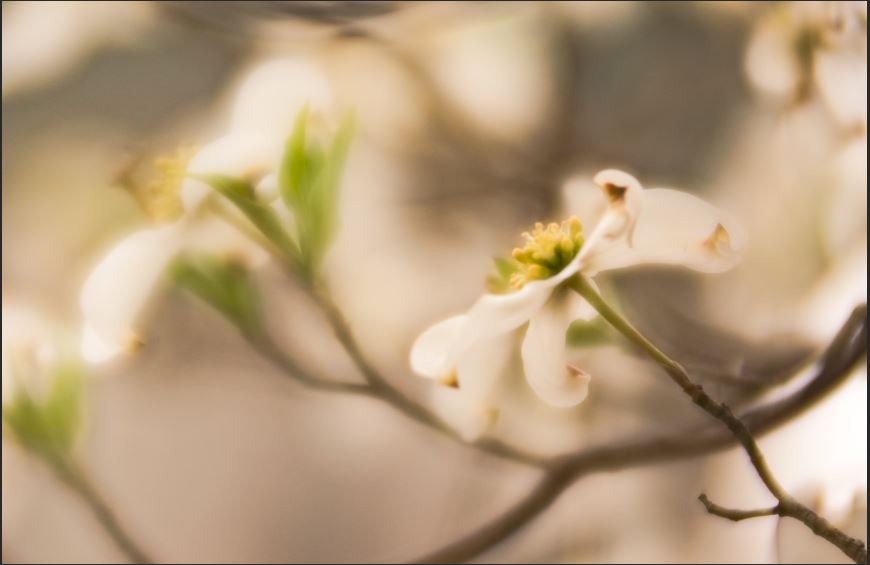
Cropping seems in order.
I typically try to crop in-camera when I'm capturing (I want all the pixels I can get in my finished image). But with this I was distracted by the beauty of what I was shooting, I guess. There's too much going on. The eye doesn't know where to look.
Let's help it out a bit.
Progress!
Once I have a base image I'm happier with, it's time to work with my NIK filters.
I don't do a lot of Color Efex processing with my images. I like as "natural" an effect as possible. For something more artistic, I'm working to improve my Topaz skills. But with a soft focus capture like this one, "natural" is the choice I almost always make.
My go-to filters in Color Efex Pro:
- Detail Extractor
- Polarization
- Graduated Neutral Density (not used here)
- Reflector Effect (not used here)
Other filters I work with less frequently:
- Soft Focus (used here)
- Glamour Glow
- B/W Conversion (used here)
- Contrast Only
There are others, of course, but these are the handful of filters I'm most likely to reach for to get an image ready for the work I'll do back in Photoshop to finish things up.
Color Efex Detail Extractor
For this image, I started with Detail Extractor to see what I can pull out of the image--even though I want to keep everything soft overall.
So far, so good.
Color Efex Polorization
Next, I worked with Polarization, wanting to see if I could grab more vivid colors/hues.
Yes, this can be done in camera with a filter as you shoot.
But, you know, coulda woulda shoulda...
Color Efex Soft Focus
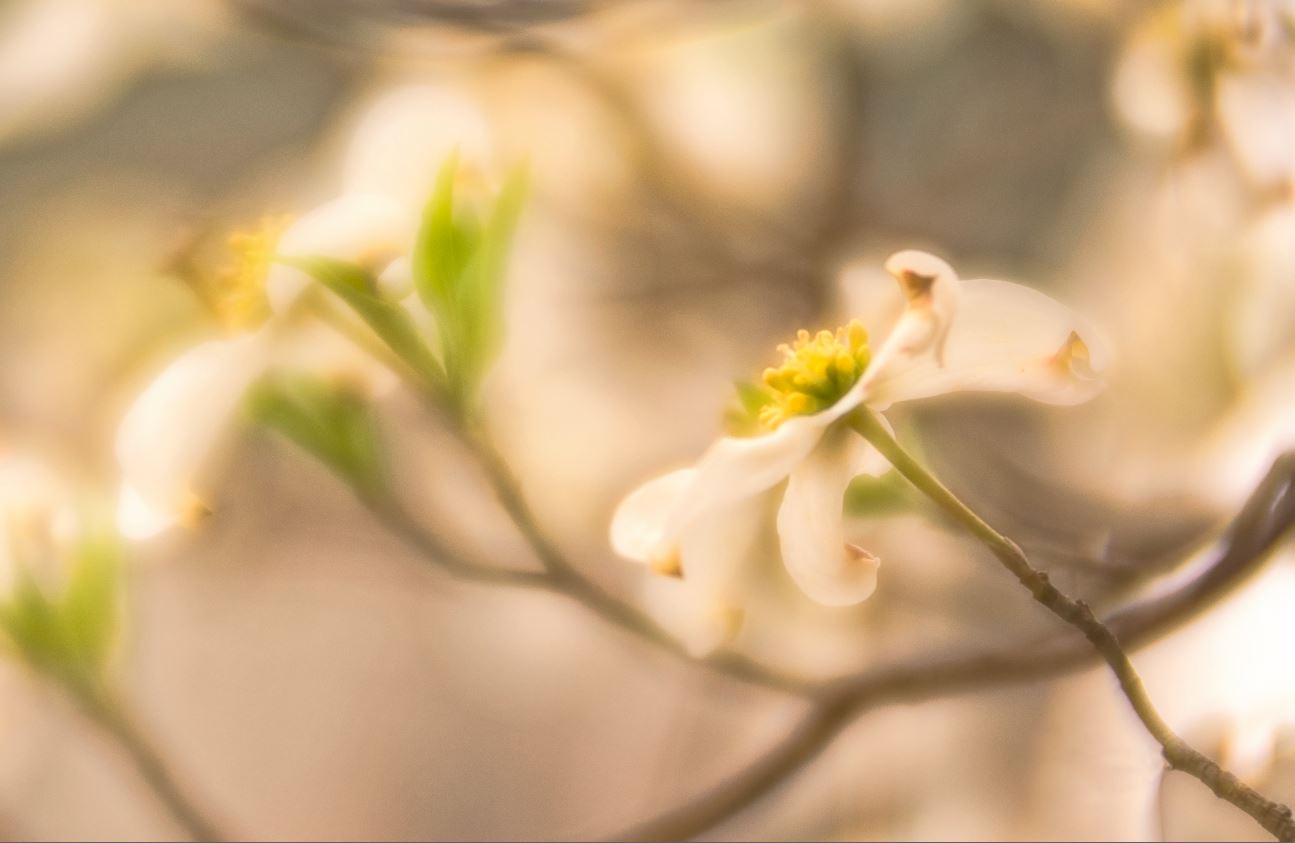
I like the Soft Focus filter for images like this.
I can add back in some of the diffusion and glow the other adjustments might have depleted.
Pretty!
Color Efex B/W Conversion
But that single blossom isn't as isolated still as I'd like it to be.
I decided to try the B/W Conversion Filter next.
Why?
I mean the image after the Soft Focus filter is lovely. And I might go back to it at a later date (because I can, since converted to Smart Object before opening the NIK Color Efex Pro software).
But for now, I have an idea for how to process forward.
Photoshop Layer Mask
Meanwhile, back in Photoshop...
- I added a Layer Mask to the NIK Color Efex layer.
- I used the Brush Tool (with the Black foreground color set at 30% Opacity) to brush away the Color Efex filtering from the single dogwood blossom I wanted to spotlight.
The effect was interesting enough to inspire me to keep going.
Photoshop Levels
I worked with Levels next.
50% Gray Layer
Then with a Soft-Light-Neutral 50% Gray layer.
With it, I dodged and burned back in contrast and highlights where I needed them most.
Vignette
I used Exposure and Brightness/Contrast layers to add a subtle vignette.
You can do this with a 50% gray layer as well, but for BW images in particular, I find this approach more appealing.
Hue/Saturation Layers (yellow and red)
And, finally, I worked with reds and yellows (only) in a Hue/Saturation layer.
Actually, in two layers, one for each color. That way, I can isolate and adjust one hue at a time.
Not bad for about 15 minutes work (from when I first imported the RAW file).
But is the bloom now TOO isolated now from the black and white background?
And here's where using a Smart Object before working with NIK filters comes in handy. Because I first converted the NIK Layer to Smart Objects, I was able to go back into my Color Efex Pro settings and tweak them a bit more creatively.
NIK allows you to control where and how much any of its effects are applied.
In the B/W Conversion layer, I added a Zero Opacity Control Point to the blossom I wanted to isolate:
- I placed the control point at the center of the blossom, set at zero opacity (to remove the black-and-white effect).
- I worked with the circumference of the control point circle to blend in the area of returned color, so that the blossom would appear in such harsh contrast to the area around it.
Then back in Photoshop, I removed the Mask from the Nik Layer, giving the Color Efex Pro filters complete control over how the blossom is layered into the rest of the image.
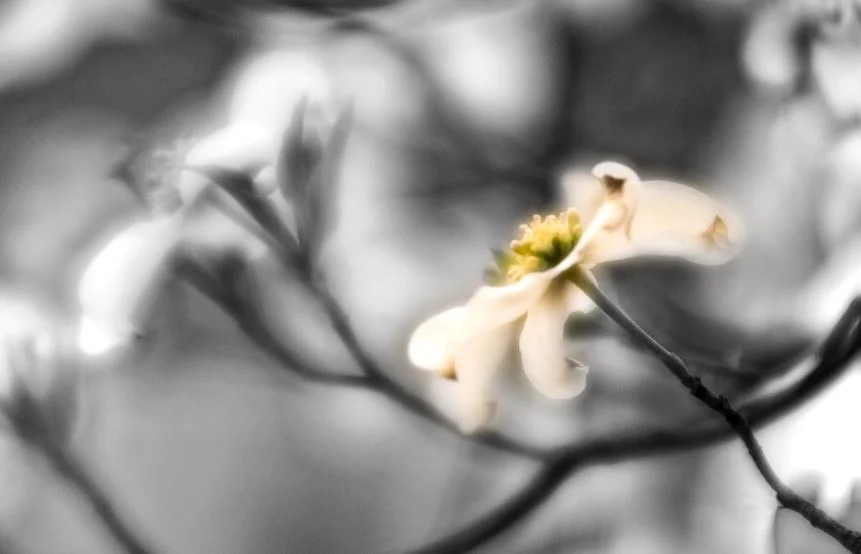
The result after a grand total of about 20 minutes of post-processing work...
Final Processing, using a Nik Color Efex Pro Control Point for the B/W Conversion filter
A more gradual fade to black to white.
Also, I get to keep all the rest of the yummy Color Efex Pro adjustments I made to the flower, since all I eliminated with the zero opacity control point was the B/W Conversion work.
All-in-all, a warmer alternative, I think, than brushing back in color with a layer mask.
Is this final result better/worse than the original?
I ask myself a different questions when I'm working in /practicing post-processing:
- Do I respond positively to the result? (I do.)
- Am I achieving my desired goal for the composition? (Here, to isolate that bloom while preserving soft focus.)
- Does the work progress my deftness at affecting a natural adjustment to an image? (This B/W Conversion filter is my favorite result with that technique...so far.)
My work with this image wasn't about perfection. I wanted to grow my post-processing skills.
Photography will always be a learning curve for me.
I'm perpetually searching for tools to help me offer viewers a better experience of my vision for a capture. Post is about the journey for me, as much as if not more so than the actual result of the work.
And if I'm going to transport you with an image, it had better please me first--with its uniqueness and delivery of my vision, all the way back when I snapped that shutter closed and created the RAW image.
Does my vision come through to the viewer, even after the work I do with an image?
That's what's key to the "outward" success of the processing I've done.
You be the judge with this one...
Here are the original cropped blossom and the post-processed final image side-by-side.
I love them both, actually. And when I make the time, I might just go back and work more with the image without the B/W Conversion filter.
I shot many more images of that tree that were better framed and "focused" compositionally, straight out of the camera.
However, I live for opportunities like this not-so-perfect image.
Working with them is priceless experience.
I have a computer/external hardrives full of them, just waiting to help me improve my post-processing skills and ability to work with a composition, until I have just the right image to share.


